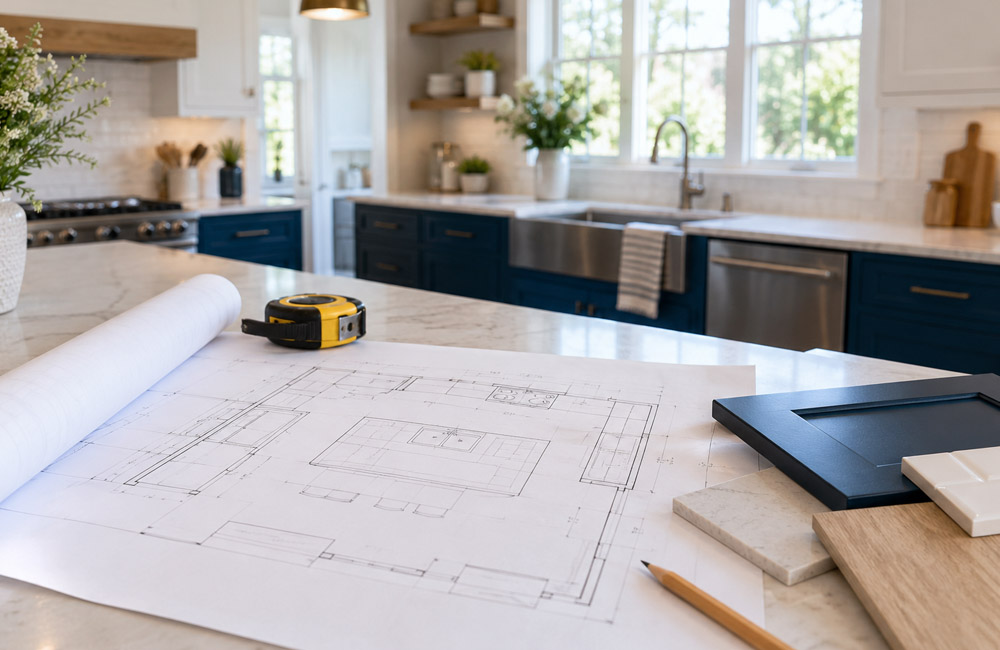
Remodeling a kitchen is a chain of connected decisions. When the order slips, small choices balloon into costly fixes: a countertop gets recut because a sink moved, or a backsplash outlet ends up in the middle of a decorative tile. A cleaner path is to lock in measurements and infrastructure before selecting surfaces, then finish with lighting and adjustments. The sequence below mirrors how experienced builders coordinate layout, rough-ins, cabinets and tops, floors, and final commissioning, so each step supports the next rather than creating do-overs.
Start With Measured Layouts and Clearances
Begin by drawing the room to scale and placing full-size appliances, not just icons. Include the refrigerator door swing, oven door drop, dishwasher door open, and stool positions. Plan work aisles at widths that suit your household, often wider for two-cook kitchens. Mark landing zones beside the range and refrigerator, and size the island overhangs to meet realistic knee clearance requirements. If you are comparing designs from different teams, including kitchen remodelers in Dayton, OH, insist they show appliance door arcs, seating depth, and walk paths on the same plan. That one drawing flushes out conflicts before any material is ordered.
One common tangle appears when a full-depth fridge faces an island. On paper it looks fine; on site, the open fridge door kills the aisle, blocks the pantry, and traps a cook. Correct it on the plan by shifting the island a few inches, choosing a counter-depth refrigerator, relocating the refrigerator to a position beside a wider walkway, or reversing a door hinge if the swing interferes with adjacent tall cabinets. Also verify you have a landing surface for hot pans within a step of the cooktop and that the dishwasher opens toward a clear loading path from the sink, not into the primary prep zone.
Fix Rough-In Decisions That Cannot Move Later
Once the layout is set, lock in the behind-the-wall work. Electrical and plumbing rough-ins must match the final plan because tile and cabinets will box them in. Specify dedicated circuits for heavy appliances such as the microwave drawer, dishwasher, and disposal, and size small-appliance countertop circuits appropriately. Decide where the undercabinet lighting drivers will be located and route the low-voltage wiring before drywall. For plumbing, set the sink and faucet centerlines relative to the window, confirm the drain slope and trap location for the bowl style you selected, and place shutoff valves so they remain accessible inside the sink base rather than being buried behind drawers.
Ventilation needs the same early certainty. A 30-inch range with a low-output hood may work with a shorter duct run, but a higher-output range typically benefits from a larger, smoother duct with fewer elbows. Increasing hood CFM later can force a bulkier 6-inch or 8-inch duct that no longer fits in an already-built soffit, and a starved hood gets loud because air friction climbs. Plan the hood’s route, termination, and backdraft damper now, and ask whether your hood size triggers make-up air requirements in your area. A simple scenario to avoid: swapping to a 900 CFM hood after cabinets are in and discovering the only path to the exterior requires cutting through a finished crown return.
Set Cabinets, Then Templating, With Sink and Faucet Compatibility
Cabinets define the hard dimensions the countertop must follow, so they go in before measuring slabs. Decide early between frameless and face-frame construction. Frameless boxes often yield a bit more interior width for pullouts and full-extension drawers, while face-frame cabinets can provide rigidity that helps in older homes with wavy walls. Verify filler locations to scribe against out-of-plumb corners and ensure tall pantry doors can open fully without hitting a wall or pendant. Plan internal storage early too: tray dividers near the oven, a trash pullout beside the prep sink, and soft-close hinges where doors might otherwise slam into the adjacent appliance handle. The trade-off here is real: frameless may win storage capacity by a fraction per cabinet, while face-frame may better tolerate minor racking during installation.
Countertops are templated only after base cabinets are anchored, panels are in place, and final appliance specifications are on site. The template crew will note overhangs, seam locations, and cutouts. Choose the sink type before templating and confirm its exact model because an apron-front basin needs a purpose-built sink base and an undermount bowl affects reveal choices at the edge. Coordinate faucet hole spacing with the backsplash height, especially under a low window stool, and decide whether you want an air gap for the dishwasher or a high-loop under the counter if allowed locally. If you plan a pot filler, confirm wall blocking and hot-cold preference before tile. These details prevent the classic mistake of ordering a quartz top, then discovering the chosen sink’s flange conflicts with the cabinet rails.
Resolve Flooring, Transitions, and Appliance Heights
Flooring often changes the math on clearances, so set the finished floor height before trimming panels and toe kicks. Large-format porcelain tile reduces grout joints but demands a flat substrate, often corrected with a self-leveling compound. Luxury vinyl plank tolerates slight irregularities and can float, yet thickness plus underlayment might push a dishwasher too tight under a 36-inch-high counter. Plan radiant heat mats or cork underlayment early because those layers lift the floor and can misalign a threshold to adjacent hardwood. Test-fit the range with its anti-tip bracket and verify the refrigerator has the side and top clearances the manufacturer specifies for cooling. Leaving one removable toe-kick panel beneath the sink base or dishwasher can make future service much less invasive.
Dial In Lighting and Venting Comfort, Then Close With a Punch List
Light the work, not just the room. Place undercabinet fixtures toward the front of the cabinet bottom to throw light on the counter, not on the backsplash. Coordinate dimmers and color temperature so pendants and recessed fixtures do not fight with each other; many kitchens feel balanced at 3000K with CRI 90 LEDs. Space canless recessed lights to avoid casting shadows on the prep surface where your body will stand, and center pendants over the island seating rather than over the cabinet edges. On the comfort front, a quiet range hood with an efficient duct can keep Sones low enough to hold a conversation, and a cleanable baffle filter encourages regular maintenance. Close the project with a defined punch list: adjust door reveals, align drawer faces, silicone the change-of-plane joints instead of grouting them, seal cementitious grout if specified, and record model numbers for filters and water cartridges.
Sequencing a kitchen remodel this way protects every later choice with a firm foundation. Measure the layout and clearances, finalize the rough-ins, set cabinets before templating tops, confirm flooring heights and transitions, then tune lighting, ventilation, and finishing details. That order reduces rework, keeps appliances within manufacturer tolerances, and results in counters that fit sinks and faucets the first time. A steady, step-by-step plan does not eliminate surprises, but it turns them into manageable adjustments rather than expensive do-overs, and it leaves you with a space that functions as well as it looks.