Interior finishes shape how a renovation looks and feels, but they also need their own place in the budget. Surfaces and fixtures chosen late can add unexpected costs when the original quote was based on a different product or a loose allowance.
Decide the finish level before you price anything
You can’t budget tile or tapware until you know which tier you’re buying. A functional bathroom and a high-end bathroom can share the same floor plan, but they won’t share the same spend.
Describe the finish level you want in each room before asking for quotes. You might prioritise hard-wearing surfaces in a laundry, a particular colour palette in the kitchen and custom detailing in a living area. Use those priorities to guide comparisons rather than assuming every premium finish offers the same benefit.
Write the tier on paper for each room. That one choice stops you from comparing a basic ceramic against natural stone as if they were interchangeable.
Start with the big-ticket surfaces
Cabinetry, benchtops and wet-area finishes are useful starting points because they involve several interdependent selections. If cabinetry and benchtop choices use up the allowance, there’s less left for flooring and tapware. It’s better to know that early than after you’ve fallen for a floorboard.
Cabinetry costs grow fast because you’re paying for both boxes and fronts. Long runs and tall units add sheet material and time. Soft-close drawers and internal fittings add cost line by line. Adding storage extras one by one without revising the total makes it easy to lose track of the budget.
Benchtops work the same way. Compare quotes for the particular laminate, solid-surface or sintered-stone product you want rather than relying on a price hierarchy between materials. Edge profiles and cut-outs for sinks and cooktops add labour that doesn’t show in a sample photo. Pricing cabinetry first, with benchtop and tile alongside it, shows how hardware upgrades or thicker profiles pull money from other rooms before you commit.
Wet areas follow. Tile choice sets the material cost, while size and pattern set the labour. Ask how the proposed format affects preparation, handling and installation time.
Compare samples and read the specification
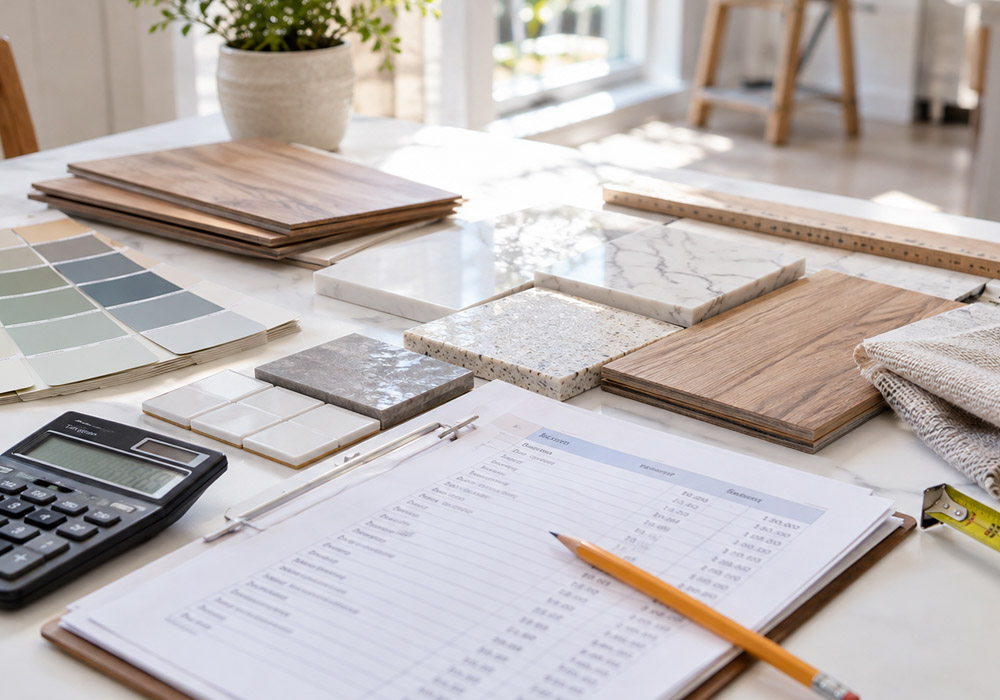
Paper swatches don’t tell you enough. Colour shifts under warm downlights and daylight, and texture looks flat online. You need physical boards in the room where they’ll eventually go.
A supplier catalogue will show laminates and melamine boards alongside acrylic and composite panels. The same range often includes solid surface and sintered porcelain stone. You can explore the surface range and request samples from HVG Decorative Buildings to check colour and grain against tile and paint before you lock in the schedule.
That step is useful when planning the interior. You can test how a matte laminate sits next to glazed ceramic and see whether the grout tone fights the benchtop fleck.
Keep notes on the back of each sample. Write the product name and code. That record helps prevent a mid-build swap when two whites look alike in a photo.
Budget the installed job, not the showroom ticket
The ticket price on a box of tile or a sheet of board is not the complete project cost. Cutting and installation also need to be priced.
What you need to budget for is the installed price.
Prep work is part of that figure. Walls may need straightening before large tiles go on. Floors may need levelling before timber or porcelain goes down, and old paint may need sanding back before new coats bond.
Wastage sits in there too. Cuts around niches and windows use extra tiles. Patterned layouts need extra boards to keep grain matched. Order allowances should reflect cuts and breakage, not just net metres. Edge details change labour as well.
A simple trimmed edge and a mitred edge involve different work, as do a square laminate edge and a shaped solid-surface profile. Ask the fabricator or installer to price each option before approving a detail.
Lock selections in a finishes schedule and keep a buffer
A finishes schedule lists every surface by room and code. Paint colours and sheen levels sit next to floor boards and skirting profiles. Tile names and grout colours sit next to tapware and handle types.
Give that schedule to your builder before you sign. Allowances without product names drift. When allowances list exact codes and distinguish supply only from fitted work, including grout and sealant, there’s less room for arguments about extras halfway through the job.
Unless delivery and sundries are spelled out, they can land as extras. Keep money aside for late decisions and things uncovered on site. Finish choices matter because we live with them every day. A tap you fall for late in the job can still fit if the buffer was planned from the start. Size that buffer to your project’s risks.
Older homes and wet areas deserve more room than a straight repaint. If the total runs high, swap with care. Keep the benchtop you touch daily and change splashback tile to a plainer option. Keep solid timber in living zones and use a simpler board in robes.
If low-VOC paint or certified timber matters to you, name it early. Ask about the specific product’s availability and relevant documentation before ordering. Early decisions give you time to compare suitable alternatives.
Finish budgets hold when selections are specific and priced as fitted work. Set the tiers and prepare the schedule first. That gives you a clearer budget to work from through the rest of the build.