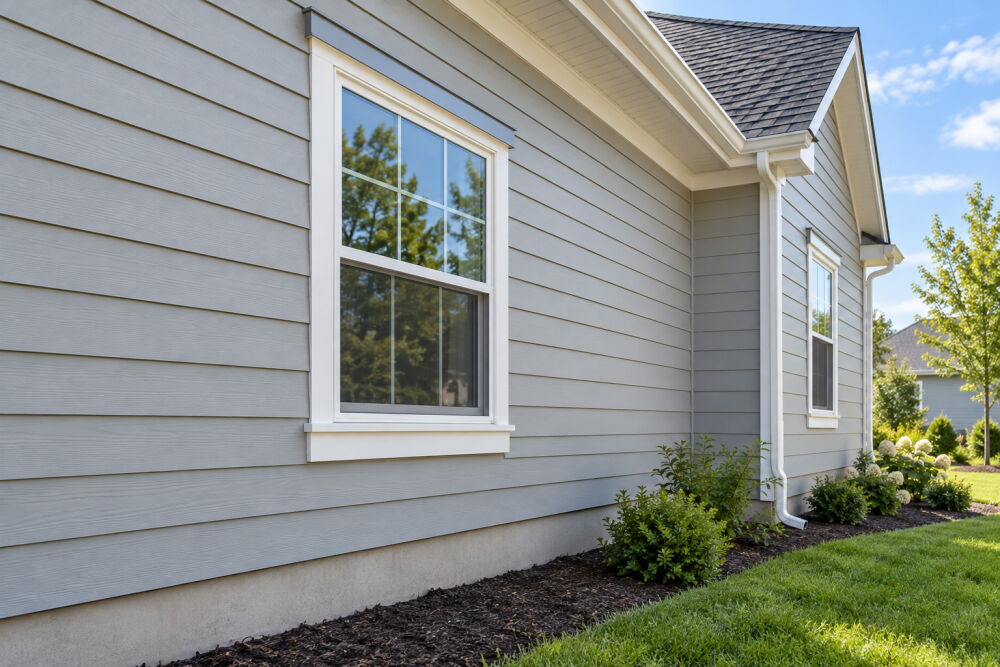
A clean, weather-tight siding job is more than fresh color. It is a system of courses, fasteners, flashings, and clearances that shed water and handle seasonal movement. Homeowners can confirm a lot of quality from the ground with a careful eye and a few simple reference points. This article explains what to look for with lap siding materials such as vinyl, fiber cement, and engineered wood. You will learn how straight starter strips guide every course, why nail placement matters, where flashing must appear, how far siding should sit above grade and roofs, and what a durable finish looks like around windows, doors, and penetrations.
1. Starter Strips, Reveals, and Course Lines You Can Track
Every lap course follows the first piece installed. Manufacturer instructions and resources, such as siding installation guides from Greenwald Exteriors, explain how pros set a dead level starter strip along the bottom of the wall to control the entire layout. From there, each course should maintain a consistent exposure, also called the reveal, measured from the bottom of one board to the bottom of the next. Stand back and sight along the courses: straight lines, even reveals at outside corners, and level transitions at band boards indicate good setup and steady workmanship.
Uneven reveals, wandering course lines, or a starter strip that dips near a stoop telegraph across the whole facade. On sunny days, misalignment is easy to spot when shadows under the laps look wavy. Installers often use a story pole or chalk lines to keep exposures consistent around windows, above doors, and under soffits. At corner posts and J channels, check that the last course is cut cleanly with uniform overlap rather than wedged or pieced. Consistent layout isn’t just cosmetic; it prevents thin, vulnerable courses that can trap water and collect debris.
2. Fastening That Allows Movement, Not Buckling
Vinyl siding expands and contracts with temperature swings, so the nail shank should sit centered in the nailing slot, with the head snug but not pinning the panel. If nails are driven too tight or off center, panels cannot move and will ripple or buckle in heat. Look for fasteners through framing or solid sheathing, not just through foam. Galvanized or stainless fasteners are standard; rust streaks suggest incompatible hardware. If a new facade looks flat in the morning but appears wavy by afternoon, the fastening is likely restricting thermal movement.
Fiber cement and many engineered wood products rely on blind nailing at the top edge into studs, with face nailing only where wind or exposure requires it. Nail heads should be flush, not punched through the board surface. Overdriven fasteners crack board edges, invite moisture, and void coatings. Painted touch-up on cut ends and over fastener heads helps seal the material. Consistency matters: mixed patterns of blind and face nails without a clear reason, or nails driven into gaps between sheathing panels,s indicate shortcuts that weaken hold and invite water.
3. Flashing That Moves Water Out and Away
Where siding meets horizontal breaks, head flashings and Z flashing redirect water to the exterior. Above window and door trim, look for a visible drip edge or metal head flashing that tucks under the weather-resistive barrier (WRB) and over the top of the trim. Window openings should combine sloped sill pans, self-adhered flashing tapes, and shingle-style WRB laps so water drains onto the face of the housewrap, then out at the cladding surface. If interior trim below a new window stains after a storm, missing or mis lapped sill flashing can be the culprit.
At roof-to-wall intersections, kick-out flashing where a gutter begins is nonnegotiable. It diverts water away from the wall and into the gutter rather than letting it run behind the siding. Brown streaks, swollen trim, or fungus at this junction are classic signs the kick-out is missing or undersized. Step flashing should be layered under shingles and integrated with the WRB, not simply caulked over. In rainy or coastal climates, a rainscreen gap created by furring strips or a drainage mat behind fiber cement adds cost and thickness, but it speeds drying and can extend paint life by reducing trapped moisture.
4. Clearances at Grade, Roofs, and Hardscapes
Siding should not touch soil, mulch, or paving. Fiber cement generally needs 6 to 8 inches of clearance above grade and at least 1 to 2 inches above horizontal surfaces such as roof shingles, flashing, or masonry ledges. Vinyl panels lock to the starter strip but should still hang well above soil to avoid splashback. These gaps reduce capillary wicking, allow drainage from the WRB, and keep de-icing salts and sprinklers from saturating lower courses. In snow zones, extra clearance helps prevent ice buildup and freeze-thaw damage at the bottom edge.
A common mistake is sealing the bottom edge of the siding to the foundation with caulk. That traps water and blocks weep paths in starter strips and J channels. Instead, look for perforated weep holes where vinyl panels and trims terminate to let incidental water escape. If you see swelling or paint failure along the lowest fiber cement courses, check for landscaping or mulch that has crept up the wall and sprinklers aimed at the facade. Lowering grade, redirecting sprinkler heads, and maintaining proper clearance often stops the damage from repeating.
Joints, Trims, and Penetrations Finished for Durability
Vinyl panel laps should not be caulked; they rely on a loose, overlapping joint to shed water and allow movement. Seams should be staggered from course to course, not stacked in a vertical line. J channels around windows should be neatly notched at the corners with small, intentional gaps and weep holes at the bottom. Corner posts must be plumb, with fasteners placed in the center of slots and not driven home so tightly that the hem is crushed. Mounting blocks behind light fixtures, hose bibbs, and dryer vents create a flat surface and should be flashed or taped to the WRB before you cut and install siding around them.
Fiber cement and engineered wood benefit from joint flashing behind butt seams, often a 6-inch slip sheet of corrosion-resistant material or factory H moldings that cover the gap. Prime and seal end cuts per manufacturer requirements. Where trim meets siding, quality sealant over proper backer rod beats a wide smear of caulk on a thin joint; the backer rod controls depth, and the hourglass profile lets the sealant flex. PVC or fiber cement trim resists rot better than pine, though it adds material cost and may need different fasteners. After installation, a seasonal walkthrough to check sealant, clean weep holes, and clear gutters helps the wall system keep shedding water as designed.
A careful ground-level check of reveals, fasteners, flashing, clearances, and finish details gives a reliable picture of installation quality without removing a single panel. If you spot buckling after hot afternoons, stains below roof-to-wall joints, or siding too close to soil, take photos and compare what you see with themanufacturer’ss instructions. Small corrections, like adding a kick out or lowering mulch, can prevent larger repairs later. Keep a file with your product data sheets, paint colors, and warranty documents, and repeat the same 20-minute inspection after major storms and at the change of seasons to protect your investment.