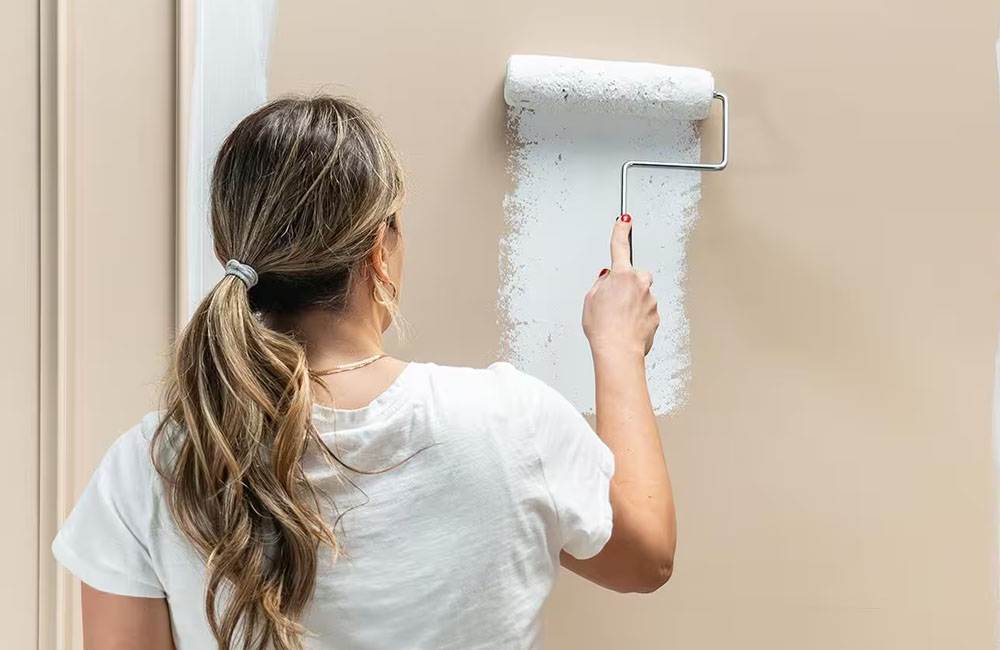
Nobody tells you that your first house keys come with roughly forty unpainted decisions attached. I found that out the week after closing, standing in a living room that smelled like someone else’s laundry detergent, staring at a shade of beige I can only describe as “landlord original.” The walls were fine. They were just not mine. Painting was the fastest way to fix that, and it’s still the cheapest major change you can make to a home you just bought.
Here’s what I wish someone had sat me down and explained before I bought my first roller. You don’t need to repaint everything at once. You do need a plan, a realistic budget, and a clear idea of which jobs you can handle yourself and which ones you should hand off. If your first place is a condo in Sandy or anywhere near the east bench, hiring an interior painting company Sandy homeowners trust will save you a weekend of taping and a month of second-guessing. But even if you go the DIY route, the same rules apply.
The good news is that interior painting rewards preparation far more than talent. A careful amateur with the right prep will beat a sloppy pro with a good brush every single time. So let’s get into what actually matters.
What Does Painting Actually Cost You?
Start with the number, because the number shapes every other decision. For a typical two-bedroom home, you’re looking at somewhere between a few hundred dollars for a DIY job and several thousand for full professional coverage, depending on ceiling height, wall condition, and how much furniture has to move. Paint itself is the smaller line item. Labor is what you’re really paying for when you hire out.
According to HUD, housing costs tend to be the single largest expense in an average American household budget, which is exactly why new owners feel every extra dollar. I’d rather you spend an extra hundred dollars on better paint and skip the trendy light fixture for six months.
Prep Work Nobody Warns You About
Look at your walls under a lamp before you do anything else. You’ll spot things daylight hides: hairline cracks near door frames, greasy patches behind the stove, water stains under window sills, tiny nail holes from the last owner’s gallery wall. Every one of those needs handling before paint touches the surface.
Fill nail holes with lightweight spackle and let it dry fully. Sand the patch smooth, then wipe the dust. Grease and smoke residue need a degreaser, not just a damp rag, or your new paint will crawl and peel within a year. Cracks wider than a pencil lead might be settling, and if you see soft or crumbling drywall, stop and get it looked at before you spend a dime on color.
The Environmental Protection Agency has published guidance on indoor air quality that’s worth reading before you pick a paint can, because ventilation and low-VOC formulas matter far more in a closed-up bedroom than most people assume. Open windows, run a fan, and don’t sleep in a freshly painted room the same night.
Which Paint Should You Actually Buy?
Ignore the eight hundred shades of white and pick your finish first. Finish decides how the wall handles light, fingerprints, and scrubbing. Get that right and the color is easy.
- Flat or matte: gorgeous in bedrooms and on ceilings, terrible near kids and doorways because it marks easily.
- Eggshell: the practical middle ground for living rooms and hallways; wipes clean without shining.
- Satin: best for kitchens, bathrooms, and trim, where moisture and grease live.
- Semi-gloss: durable and reflective, ideal for baseboards, doors, and cabinets.
My own rule after three houses: eggshell on walls, satin on trim, semi-gloss on anything that gets touched daily. Buy one gallon of your chosen color, paint a two-foot square on two different walls, and live with it for three days. Paint chips lie. Full walls under your own lamps do not.
The Prep, Paint, Protect Method
I use a simple three-stage approach on every room I’ve painted, and it’s saved me from redoing work more than once. Call it Prep, Paint, Protect.
- Prep: clear the room, patch and sand, tape trim, lay drop cloths, remove switch plates. This stage takes longer than painting itself and that’s normal.
- Paint: cut in edges with a brush first, then roll in three-foot sections from the top down, keeping a wet edge so you don’t get lap marks.
- Protect: pull tape while the paint is still slightly tacky, keep the room ventilated for a day, and save a labeled jar of leftover paint for touch-ups.
The mistake I made on my first room was skipping the cut-in and trying to roll right up to the ceiling. I’ve never seen a more crooked line in my life. Do the edges with a brush first. Always.
DIY or Hire Someone?
Be honest about two things: your free time and your patience with sanding. If you have a free weekend, low ceilings, and a room with simple trim, DIY is a smart call. If you’re working full time, the room has vaulted ceilings, or you just want it done before the furniture arrives, hire it out.
When you interview painters, ask three questions. What prep is included in the quote? How many coats are standard, and is primer a separate charge? What happens if a color looks wrong once it’s on the wall? A good painter answers all three without flinching. A bad one gets vague.
One more thing I’d tell any first-time owner: get the quote in writing, with the scope spelled out room by room. It sounds fussy. It saves arguments.
Colors That Won’t Age Fast
Trend colors are fun and they’re also a trap in a house you plan to keep for years. Warm whites, soft greiges, muted greens, and classic navy accents tend to hold up. Neon accents are for people who repaint every eighteen months, which is fine if that’s you.
Test light matters more than the color name. North-facing rooms read cool and gray; south-facing rooms go warm and bright. If you love a paint chip in the store and hate it at home, the light is the culprit, not the paint.
What You Should Do This Weekend
Walk through your new place with a notepad. Mark every wall that needs patching, every room where you want a different finish, and every spot where the trim is chipped. Then price out paint for one room, not the whole house. Start there, finish one space, and see how it goes.
Your first paint job teaches you your own preferences faster than any design article can. The second one goes twice as fast. And by the third, you’ll wonder why you ever paid someone to do it. Or you’ll decide you’re done with ladders forever and hire it out, which is also a completely reasonable choice. Which room in your place finally looks like yours?