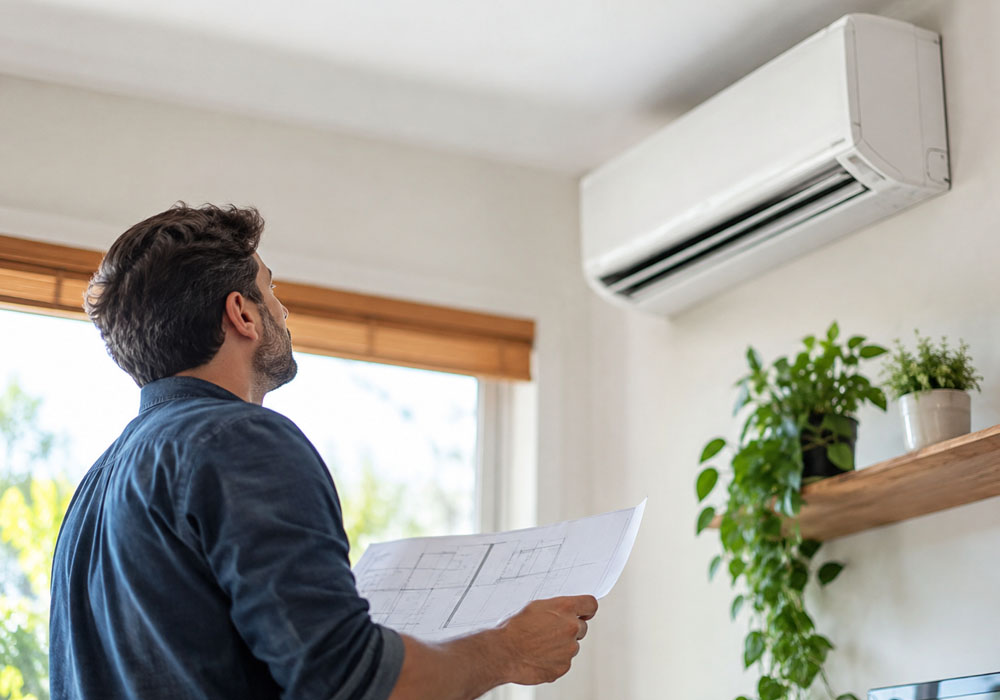
Ductless mini splits can solve difficult comfort problems in a bonus room, attic bedroom, garage conversion, or sunroom without requiring new ductwork. However, the results depend less on the brand name and more on several important decisions made before installation day. Capacity, placement, routing, drainage, and cold weather considerations all affect how quietly and efficiently the system operates, how evenly it heats and cools, and how long it lasts. This article focuses on those critical decisions, with practical examples you can use while comparing models and installation proposals. Get these fundamentals right, and a mini-split can provide steady temperatures without drafts, humidity fluctuations, or troublesome leaks.
Size the System With a Real Heat Load, Not a Rule of Thumb
The number on the box is not a complete plan. Ask for a room-by-room load calculation that considers window orientation and size, insulation levels, air leakage, internal heat gains, and local design temperatures. Proper sizing is critical because an oversized system can short-cycle and fail to dehumidify properly in summer. In contrast, an undersized system may run continuously and still fail to reach the desired temperature on extreme days. A sunny, glass-heavy sunroom may require more BTUs than a shaded den of the same size, while a tightly sealed and well-insulated office may require less capacity than expected. When comparing bids, work with an experienced Auburn HVAC contractor who can explain the load calculations, not just provide a price and an estimated system size.
Place the Indoor Head and Outdoor Unit for Airflow and Quiet
Airflow patterns matter when selecting equipment locations. A wall-mounted head should direct air across the length of the room rather than blowing directly toward a sofa or stopping at a doorway. Avoid mounting the unit above a door where warm air can collect near the ceiling and leave the lower part of the room uncomfortable during the heating season. In rooms with high ceilings, a ceiling cassette may distribute conditioned air more evenly. In smaller rooms or spaces with limited wall area, a floor console can improve comfort at seated height. Outdoors, position the condenser away from bedrooms and patios whenever possible, install it on vibration-isolating pads or brackets, and maintain adequate clearance around the coil. Placing the equipment in a cramped corner can restrict airflow, increase noise, and cause warm discharge air to circulate back through the unit.
Plan the Line Set, Electrical Circuit, and Condensate Drain
Refrigerant piping is more than a simple connection between the indoor and outdoor units. Line set length, elevation changes, and the number of bends can affect oil return and system capacity. Follow the manufacturer’s maximum allowable distances and use properly insulated refrigerant lines to prevent condensation during cooling operation. Avoid unnecessary flare connections hidden inside walls because every connection creates another potential leak point. Keep connections accessible whenever practical, and tighten them according to the manufacturer’s specifications. A neat, UV-protected line cover outside protects the insulation while maintaining the building’s appearance. Inside, seal wall penetrations carefully to prevent drafts and pests, and consider how technicians will access the lines for future service without damaging finished surfaces.
Mini-splits typically require a dedicated electrical circuit, correctly sized overcurrent protection, and a disconnect within sight of the outdoor unit. If the manufacturer recommends surge protection, install it with the condenser. Plan condensate removal before installation begins. Gravity drains need a continuous downward slope toward an approved discharge location. When gravity drainage is not practical, a condensate pump must be correctly sized, positioned, and wired to meet applicable requirements and reduce the risk of overflow. Condensate should not discharge onto walkways or close to foundations, where persistent moisture, algae growth, freezing water, or structural damage could become concerns.
Cold Weather Details Many Buyers Miss
Heat pump mini-splits provide heat by extracting energy from the outdoor air. During defrost cycles, water forms as frost and ice melt from the outdoor coil. In cold or wet climates, this water needs a clear drainage path to prevent ice from building up around the outdoor unit. Pan heaters, open drain ports, and installation on wall brackets or raised pads can help provide adequate drainage. Buyers should also confirm the system’s rated heating capacity at the area’s actual design temperature rather than relying only on the advertised BTU rating. Some systems maintain substantial heating output well below freezing, while others lose capacity much sooner. If temperatures regularly fall below freezing, choose a model designed for low-ambient heating conditions and plan an appropriate supplemental heat source for unusually severe weather to maintain consistent indoor comfort.
One Zone or Many? Picking Heads Without Sacrificing Efficiency
It can be tempting to connect three indoor heads to one multi-zone condenser and consider the project complete. However, many multi-zone systems have a higher minimum operating capacity than a small single-zone system. During mild spring and fall weather, that higher minimum capacity can cause frequent cycling when only one small room requires heating or cooling. Separate single-zone systems can modulate to lower capacities and respond more effectively to small loads, although they require additional outdoor equipment and installation space. Consider a finished garage and a primary bedroom, for example. Two modest single-zone systems may provide more consistent comfort year-round than one three-head system when the rooms rarely need heating or cooling at the same time.
Make Maintenance Easy From Day One
Every mini-split requires easy access to its indoor filters and adequate space around the outdoor coil. Wash reusable filters regularly, particularly during pollen season, and keep furniture several feet away from the indoor unit so the intake and discharge areas remain unobstructed. Outdoors, maintain the required clearance around the condenser, trim nearby vegetation, and prevent leaves and debris from collecting around the coil or base pan. Keep the condensate line clear. If the system uses a condensate pump, test its float switch before the cooling season begins. Many homeowners also schedule professional maintenance to clean the coils, inspect the condensate system, and verify overall performance. Planning for easy service access during installation makes routine maintenance quicker and much less disruptive later.
A thoughtful mini-split installation begins with an accurate heat load calculation, directs conditioned air to where people spend their time, respects the limits of refrigerant line routing, and prepares the outdoor unit for cold and wet conditions through proper drainage and clearances. Whether you are conditioning a sunroom exposed to intense afternoon sunlight or an attic bedroom that loses heat through the roof, careful decisions before installation can prevent common problems such as short cycling, humidity fluctuations, and condensate leaks. Ask prospective installers to provide their load calculations, proposed indoor and outdoor unit locations, and plans for electrical connections and drainage. That level of preparation creates a stronger foundation for quiet, consistent comfort that can last for years.