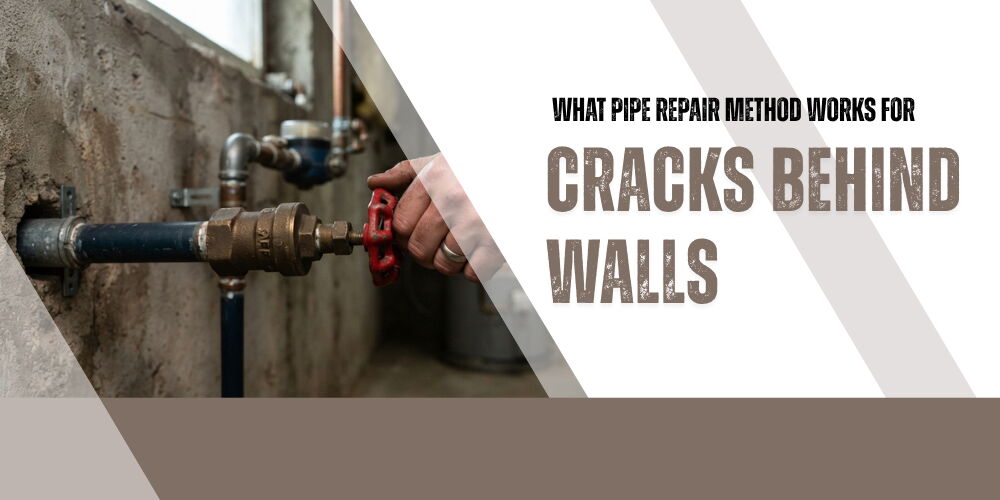
Plumbing problems behind walls can go unnoticed until moisture begins to affect visible surfaces. Hidden pipes can develop leaks that go undetected until signs of water damage appear. Over time, water escaping can damage drywall, finishes, and nearby materials. Addressing the plumbing issue early can help limit the extent of water-related damage. Professional pipe repair provides a practical way to restore the affected plumbing and prevent continued water loss.
Find the Source of Hidden Leaks
Before starting a pipe repair, plumbing professionals pinpoint where water is escaping behind the wall. Several warning signs can help narrow the search and prevent unnecessary wall removal, such as:
- Water stains: Brown or yellow marks can indicate where water has traveled from a leaking pipe.
- Damp drywall: Soft, swollen, or wet drywall may reveal moisture near the damaged plumbing.
- Peeling paint: Moisture trapped behind the painted surface can make the paint blister, loosen, or peel from the wall.
- Musty odors: Persistent odors may point to moisture collecting inside the wall cavity.
- Unexplained water use: Higher meter readings when fixtures are off can indicate concealed leaks.
By locating the source first, professionals can open the wall near the affected pipe instead of removing large sections of drywall.
Assess the Crack and Pipe Condition
After locating the leak, professionals inspect both the crack and the surrounding plumbing. In particular, the pipe’s condition helps determine whether a targeted repair will solve the issue. Several factors influence the pipe repair approach:
- Crack type and size: A pinhole leak, split, or damaged joint may require a different repair method.
- Pipe material: Copper, PVC, PEX, and galvanized pipes have different repair requirements.
- Pipe age: Older plumbing may show corrosion, mineral buildup, or weakened connections.
- Nearby deterioration: Damage in several areas may suggest that leaks affect more than one part of the plumbing line.
This assessment helps distinguish an isolated failure from deterioration that may affect more of the plumbing line.
Choose the Right Pipe Repair Method
Once professionals understand the extent of the damage, they select a pipe repair method that matches the pipe’s material and condition. For instance, replacing the damaged pipe section when they can access a localized crack behind the wall. Consider these factors before choosing a repair:
- Damage extent: An isolated crack may require only section replacement, whereas widespread corrosion may require more extensive work.
- Pipe material: Repair fittings, connections, and replacement sections must be compatible with the existing pipe.
- Accessibility: Limited space inside the wall can affect how professionals remove and replace damaged sections.
- Leak pattern: Recurring leaks may signal weakened plumbing beyond the visible failure point.
Selecting the method based on the actual pipe condition helps prevent repeated repairs to the same area.
Plan Access With Less Disruption
With the damaged section identified, professionals plan an access point close to the problem. As a result, they can complete the pipe repair without removing drywall from unaffected parts of the wall. A focused access plan includes:
- Targeted openings: Cutting near the damaged section provides direct access to the pipe.
- Protected surroundings: Keeping the opening contained reduces disturbance to nearby finishes and fixtures.
- Working clearance: Creating enough space around the pipe allows professionals to remove damaged material and secure new connections.
- Restoration planning: A controlled opening can simplify drywall replacement after the plumbing work is complete.
Strategic access keeps the work centered on the source of the leaks while reducing unnecessary wall removal.
Check the Repair Before Closing the Wall
Before replacing drywall, professionals test the repaired pipe and inspect nearby connections. At this stage, they also inspect nearby plumbing for any issues that may require attention. Key checks include:
- Run water through the line: Restoring water flow helps reveal dripping or seepage around the repaired section.
- Check connections: Inspecting joints and fittings can identify moisture that appears under normal water pressure.
- Examine nearby pipes: Corrosion, cracks, or weakened fittings may reveal another developing problem.
- Confirm proper operation: Test the plumbing to ensure water flows through the repaired line without signs of leakage.
Finally, confirming the repair before wall restoration helps prevent the need to reopen the same area for an overlooked plumbing problem.
Stop Hidden Damage at the Source
A cracked pipe behind a wall can cause more trouble the longer the leak goes unnoticed. However, successful pipe repair starts with locating the damage and choosing a method that suits the affected pipe, rather than opening more of the wall than necessary. Careful diagnosis helps plumbers plan targeted access, repair the damaged section, and verify the repair once the work is complete. As a result, this focused approach can address the problem while limiting unnecessary disruption to the surrounding area. When signs of hidden pipe damage appear, consider professional pipe repair services to identify the source and determine the right solution before the problem causes further damage.